Welcome to our Springboro Kitchen Project! This project began in January, but we’re going to try and catch up. When we first saw this client, their goal was to open up their kitchen and breakfast nook to the family room for more of a “great” room feel. They needed more storage, better organization, and new appliances. This project actually got started because their oven was held shut by an old-fashion clothes hanger.
The final design that Erich, Beth, and our clients decided upon called for the wall between the kitchen and family room to be removed, an island with the cook top, and a custom-built bar. Randy is our Project Manager on this particular project and will be taking the lead.
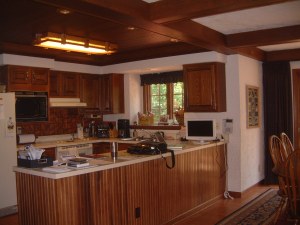
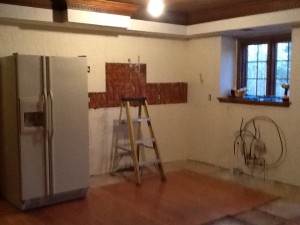
Below I am comparing the “before” pictures and the “demolition” pictures from the same angle. The first angle shows the peninsula, garden window, and ceiling with bead board.
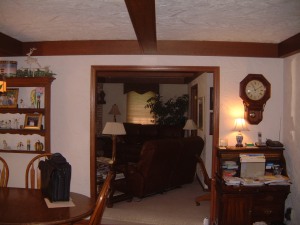
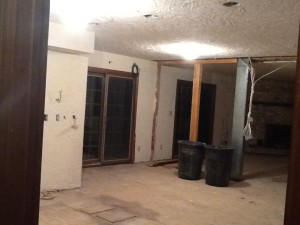
These two are showing the wall between the family room and kitchen and the same space without the wall. Before Randy began demolition, he and Erich did quite a bit of research to make sure that wall was not supporting the upper level. After studying the basement and the original floor plans and drawings, they were 99% sure the wall was not load bearing. As Randy began demolition, he unexpectedly found a column and an air supply buried in the wall. The silver rectangle you see is the supply duct that circulated air to the upstairs bathroom and the column is to the left. As a result, a beam will have to be installed the entire width of the room to distribute the load. Another column will also have to be installed in the basement to carry the load all the way down.
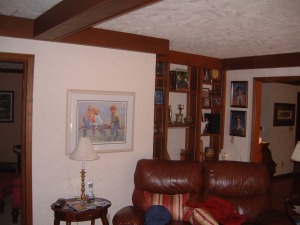
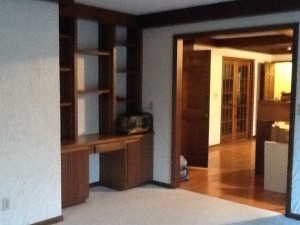
This is where the desk area was and where the new bar area will be going. As you can see, the fake beams on the ceiling were removed to lighten the space and allow for new can lights.
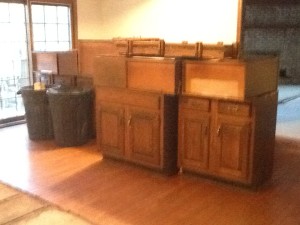
This is where the kitchen table was before the cabinets were stacked waiting to be donated to Montgomery County Material Reuse Facility. The picture on the right is showing the cabinets, wall, and flooring removed.
Visit us next time to find out how Randy removed the column and the ducting to totally open up that space. He also dropped the ceiling in the kitchen area because there were so many recessed can lights to install. Our Drywaller will have a bit of a challenge matching the complicated plaster design on the walls and ceiling. Check back to find out how she ties everything together.
